SpringBoot集成mybatis
之前写 RESTful 接口使用的是 jpa,这里使用 mybatis 来实现对数据库的操作。
添加依赖
首先新建一个名为 springboot-mybatis的工程,在 pom.xml 中添加 mybatis-spring-boot-starter,mysql-connector-java的依赖。
1 | <dependency> |
配置文件
在 application.properties 中添加数据库的连接,以及关于 mybatis 的配置
1 | spring.datasource.url=jdbc:mysql://localhost:3306/users?verifyServerCertificate=false&useSSL=false&requireSSL=false&useUnicode=true&characterEncoding=utf-8 |
建表
在上面配置中连接的数据库里新建 sys_user 表
1 | DROP TABLE IF EXISTS `sys_user`; |
使用工具自动生成文件
自动生成代码的工具可以自己从网上下载(两个jar包,注意版本),generator.xml 文件如下
1 | <?xml version="1.0" encoding="UTF-8"?> |
进入到 mybatis-generator-core 包所在的目录下,在命令行运行
1 | java -jar mybatis-generator-core-1.3.2.jar -configfile generator.xml -overwrite |
然后可以在 xml 中配置的路径下找到生成好的代码,包含mapper.xml,dao层的mapper接口,以及实体类,贴到项目里就可以啦。(生成的代码过多,可以根据自己的需要进行删减)
添加 Controller
这里只添加了 controller ,没有使用 service 层。
1 | /** |
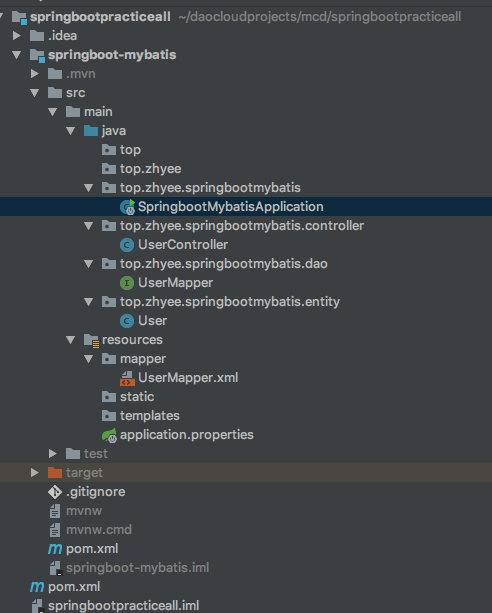
到目前为止的项目结构如下
配置启动类扫描路径
在启动类上添加 @MapperScan 注解,使其可以扫描到我们的 dao 层接口
1 |
|
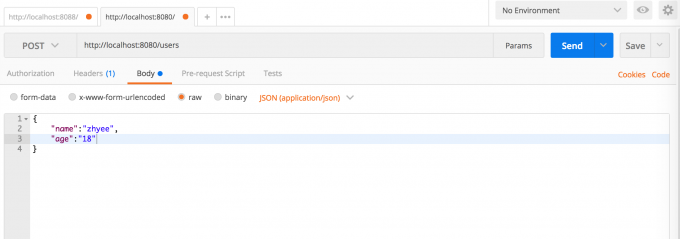
配置完成,启动项目,再使用postman发送请求
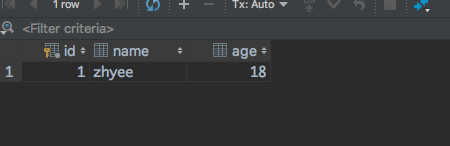
可以看到数据库已经成功插入数据啦
使用@Schedul实现定时任务
开启定时任务
在 springboot 启动类添加 @EnableScheduling 注解开启定时任务
1 |
|
创建任务
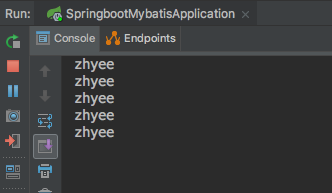
这里为了偷懒,直接在controller创建任务了~,每30秒查询一次数据库
1 | /** |
然后运行项目,可以看到控制台打印出的内容
关于@Scheduled的使用
- @Scheduled(fixedRate = 5000:上一次开始执行时间点之后5秒再执行
- @Scheduled(fixedDelay = 5000) :上一次执行完毕时间点之后5秒再执行
- @Scheduled(initialDelay=1000, fixedRate=5000) :第一次延迟1秒后执行,之后按fixedRate的规则每5秒执行一次
- @Scheduled(cron=”/5 “) :通过cron表达式定义规则,cron有7位,按顺序为 秒,分,小时,日期,月份,星期,年份。