springboot(五)_整合RabbitMQ

代码地址

Docker 运行 RabbitMQ

镜像由daocloud官网拉取,运行指令:

1
docker run -d --hostname my-rabbit --name some-rabbit -p 15672:15672 -p 5672:5672  daocloud.io/rabbitmq:3-management

指定了两个端口号的映射,一个是应用访问时的5672,一个是服务端的15672。

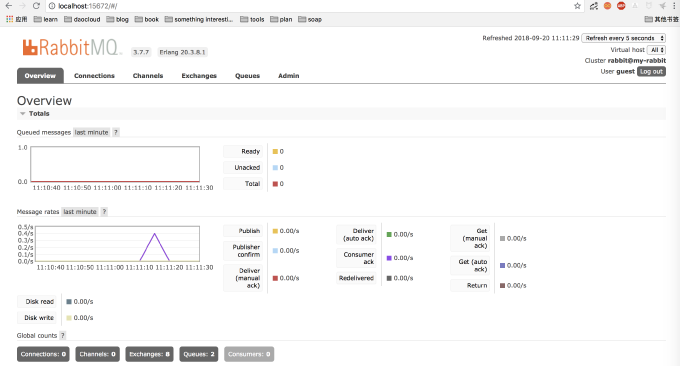
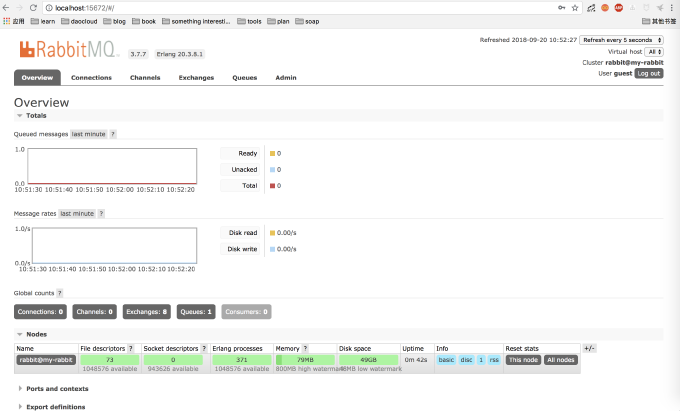
运行成功后访问 localhost:15672,使用默认的 guest 账号进入(账号:guest,密码:guest)

imJPHS.md.png

RabbitMQ概念

RabbitMQ是采用 Erlang 语言实现的 AMQP 协议的消息中间件,应用于当生产者大量生产数据,而消费者无法快速消费时,RabbitMQ可以作为一个中间层,保存这些消息。首先需要知道3个概念

  • 生产者:发送消息的程序

  • 交换机,队列:即RabbitMQ的部分。交换机用于接收来自生产者的消息并转发,不会存储数据,如果没有绑定到队列的话,会直接丢弃消息。交换机与队列的绑定由路由健完成,交换机会根据路由键(routing_key)

    决定消息发到哪个队列。

  • 消费者:接收消息的程序

Springboot 与 RabbitMQ 整合

添加依赖

springboot 提供了对多种消息队列的支持,引入spring-boot-starter-amqp 包即可。

1
2
3
4
<dependency>
<groupId>org.springframework.boot</groupId>
<artifactId>spring-boot-starter-amqp</artifactId>
</dependency>

引入的依赖里有对 RabbitMQ 的默认配置,因此如果使用默认配置,就不需要在配置文件中添加内容啦。

Pccp5Q.md.png

添加配置类

这里主要是配置交换机和队列,使用Topic的方式,根据routing_key按规则匹配队列。

1
2
3
4
5
6
7
8
9
10
11
12
13
14
15
16
17
18
19
20
21
22
23
24
25
26
27
28
29
30
31
32
33
34
35
36
37
38
39
40
41
/**
* @author zhyee
* @date 2018/8/11 下午5:16
*/
@Configuration
public class Config {

static final String topicExchangeName = "spring-boot-exchange";

static final String queueName = "spring-boot";

@Bean
Queue queue() {
return new Queue(queueName, false);
}

@Bean
TopicExchange exchange() {
return new TopicExchange(topicExchangeName);
}

@Bean
Binding binding(Queue queue, TopicExchange exchange) {
return BindingBuilder.bind(queue).to(exchange).with("foo.bar.#");
}

@Bean
SimpleMessageListenerContainer container(ConnectionFactory connectionFactory,
MessageListenerAdapter listenerAdapter) {
SimpleMessageListenerContainer container = new SimpleMessageListenerContainer();
container.setConnectionFactory(connectionFactory);
container.setQueueNames(queueName);
container.setMessageListener(listenerAdapter);
return container;
}

@Bean
MessageListenerAdapter listenerAdapter(Receiver receiver) {
return new MessageListenerAdapter(receiver, "receiveMessage");
}
}

listenerAdapter 向 container中注册了一个消息监听,会监听来自于 “spring-boot” 队列的消息。根据源码可以看到 ,MessageListenerAdapter 的构造方法,传入的是一个消费者对象,以及消费者对象中的接收消息的方法名。

添加生产者

1
2
3
4
5
6
7
8
9
10
11
12
13
14
15
16
17
18
19
/**
* @author zhyee
* @date 2018/8/11 下午5:21
*/
@Component
public class Runner implements CommandLineRunner {

private final RabbitTemplate rabbitTemplate;

public Runner(RabbitTemplate rabbitTemplate) {
this.rabbitTemplate = rabbitTemplate;
}

@Override
public void run(String... args) {
System.out.println("Sending message...");
rabbitTemplate.convertAndSend(Config.topicExchangeName, "foo.bar.baz", "Hello from RabbitMQ!");
}
}

rabbitTemplate也可以发送object的类型,方便自定义消息内容,具体可以参考源码。

添加消费者

1
2
3
4
5
6
7
8
9
10
11
12
13
/**
* @author zhyee
* @date 2018/8/11 下午5:07
*/
@Component
public class Receiver {


public void receiveMessage(String message) {
System.out.println("Received <" + message + ">");
}

}

推送消息

1
2
3
4
@Test
public void run(){
runner.run();
}

可以看到控制台打印的内容,消费者成功消费了消息。

imGXhd.md.png

打开mq的服务端页面,能看到被消费的记录

imJCB8.md.png